Develop fitting room mirrors, illuminated consultation mirrors and full-length retail mirrors around the way customers use the space—and the way your store network is built.
For retail design teams, shopfitting contractors, brand owners and rollout procurement teams.
Retail interior concept / mirror details follow the store design brief.
02 / Customer-facing spaces
Three places where the reflection matters.
Fitting rooms
A full view, without a crowded fitting room.
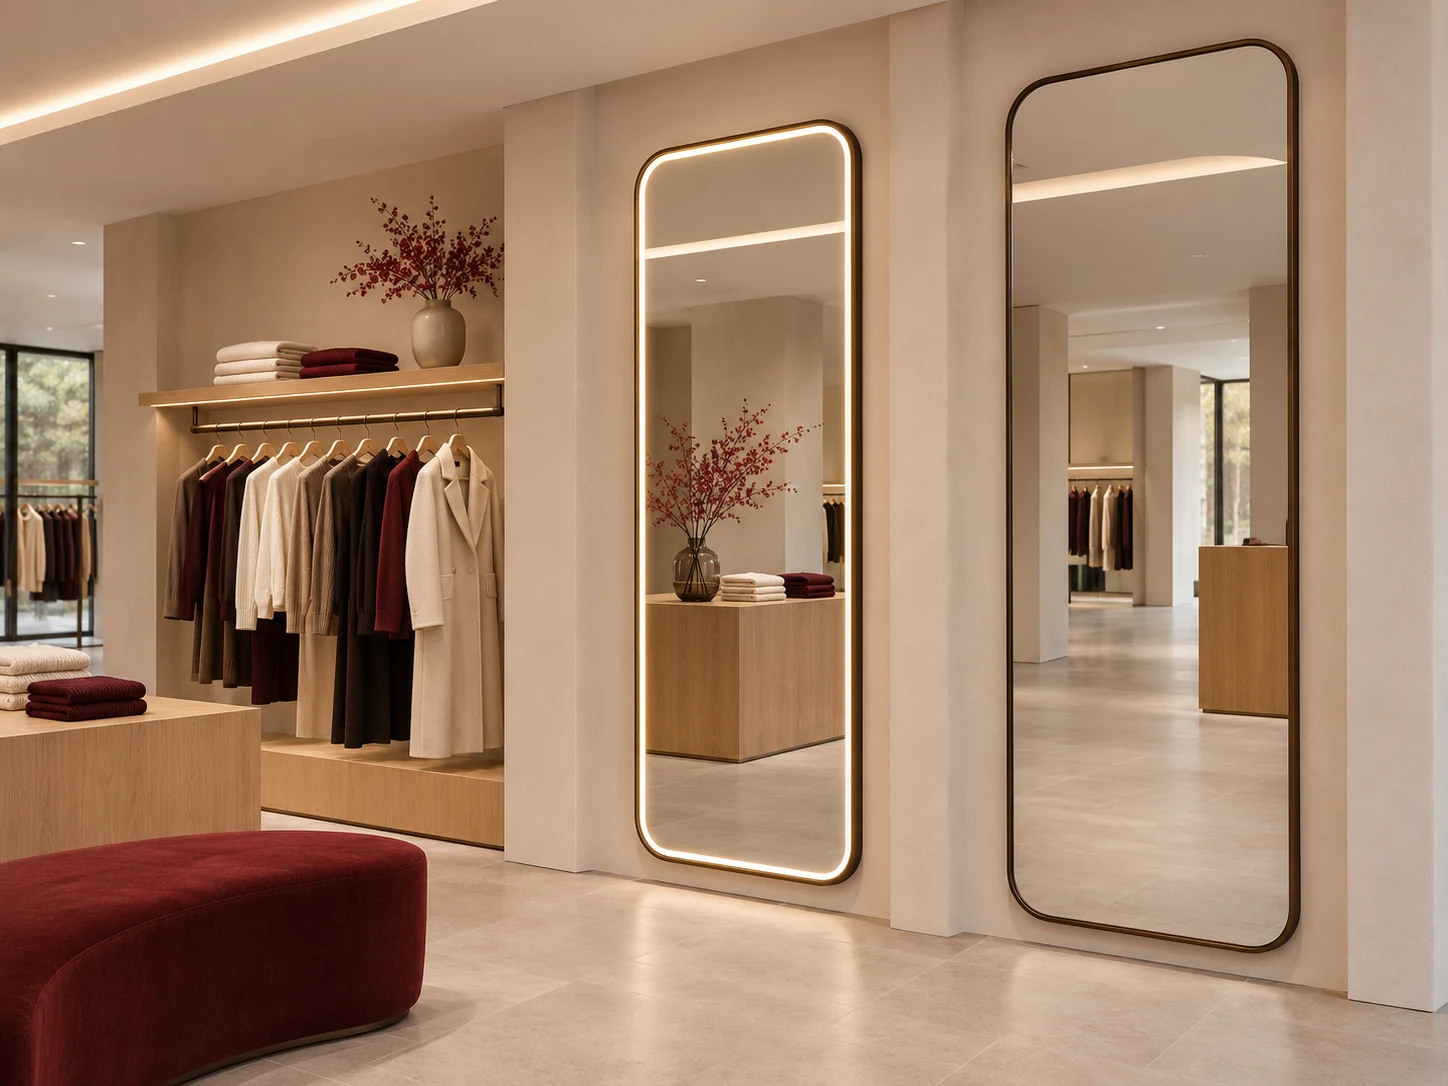
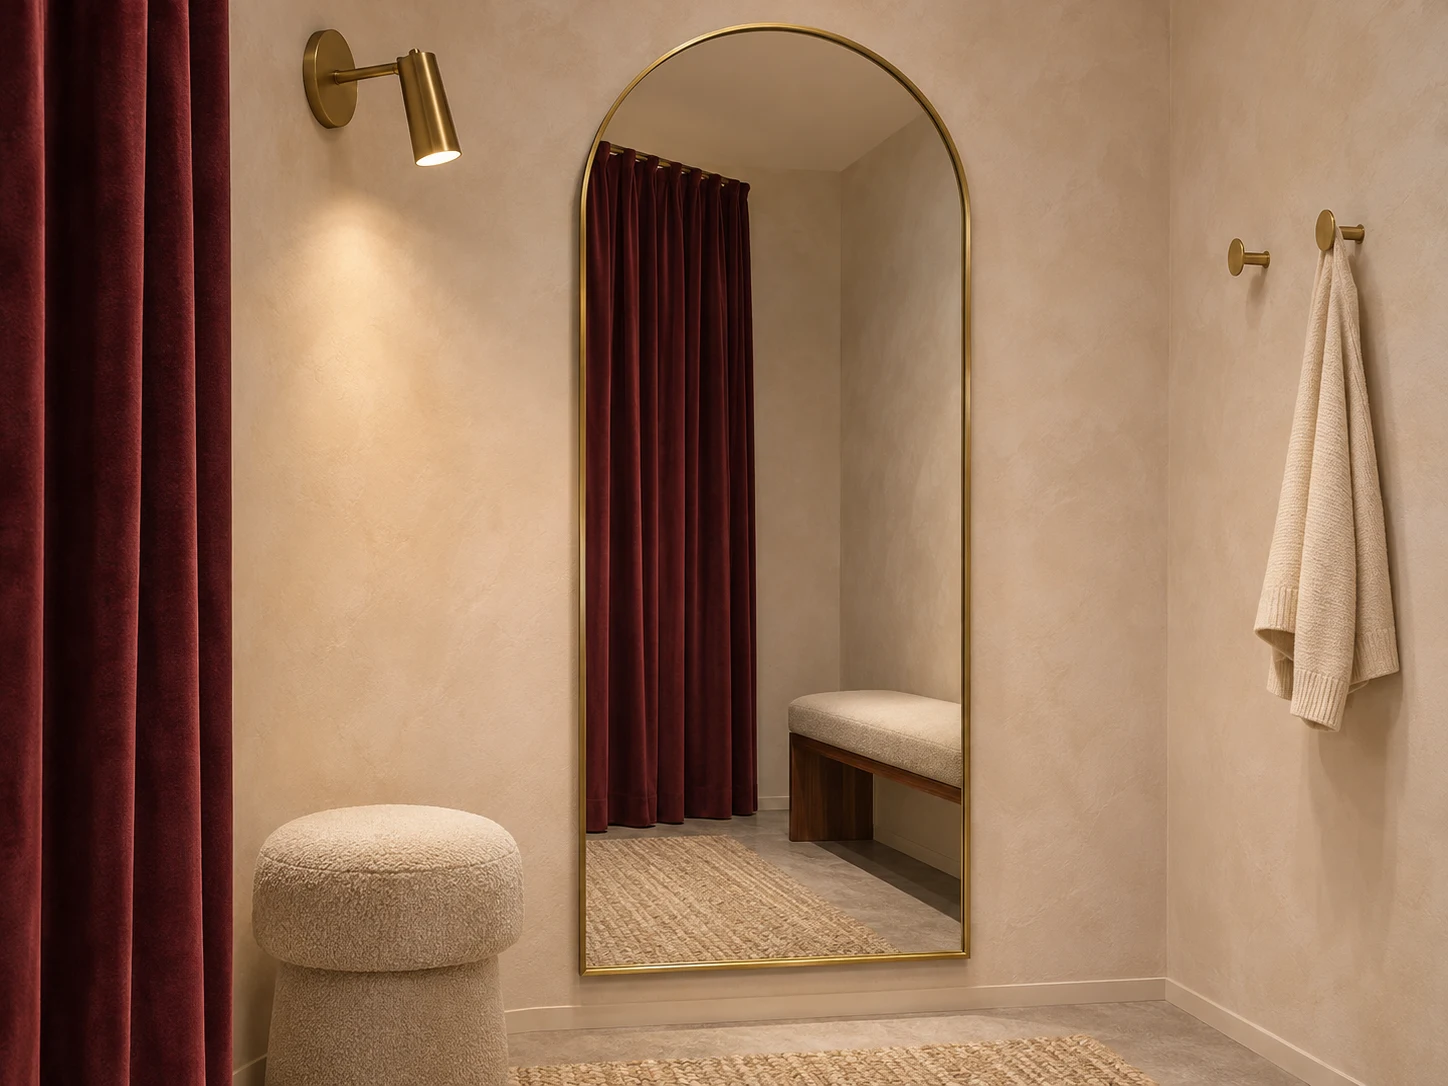
Set the mirror height and width around the customer’s standing position, curtain movement and bench. Review the full-body reflection in the actual room layout, including the lower edge.
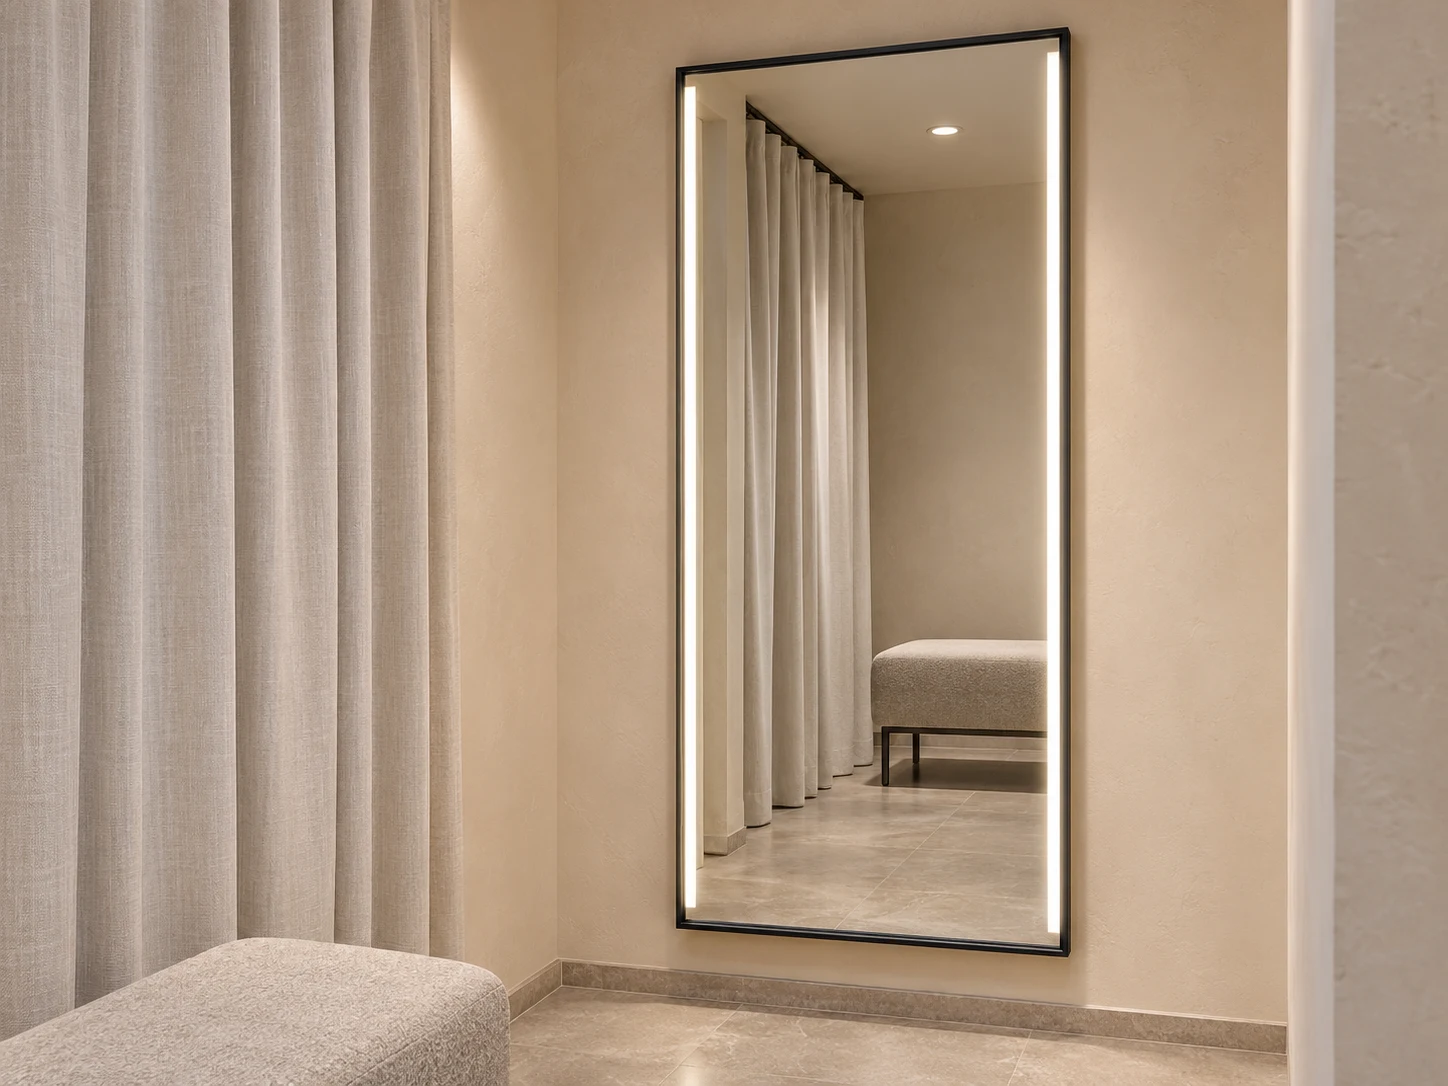
Coordinate retail LED mirrors with the counter, chair and merchandise lighting. Review the face illumination, reflected shelving and control position with the proposed store fit-out.
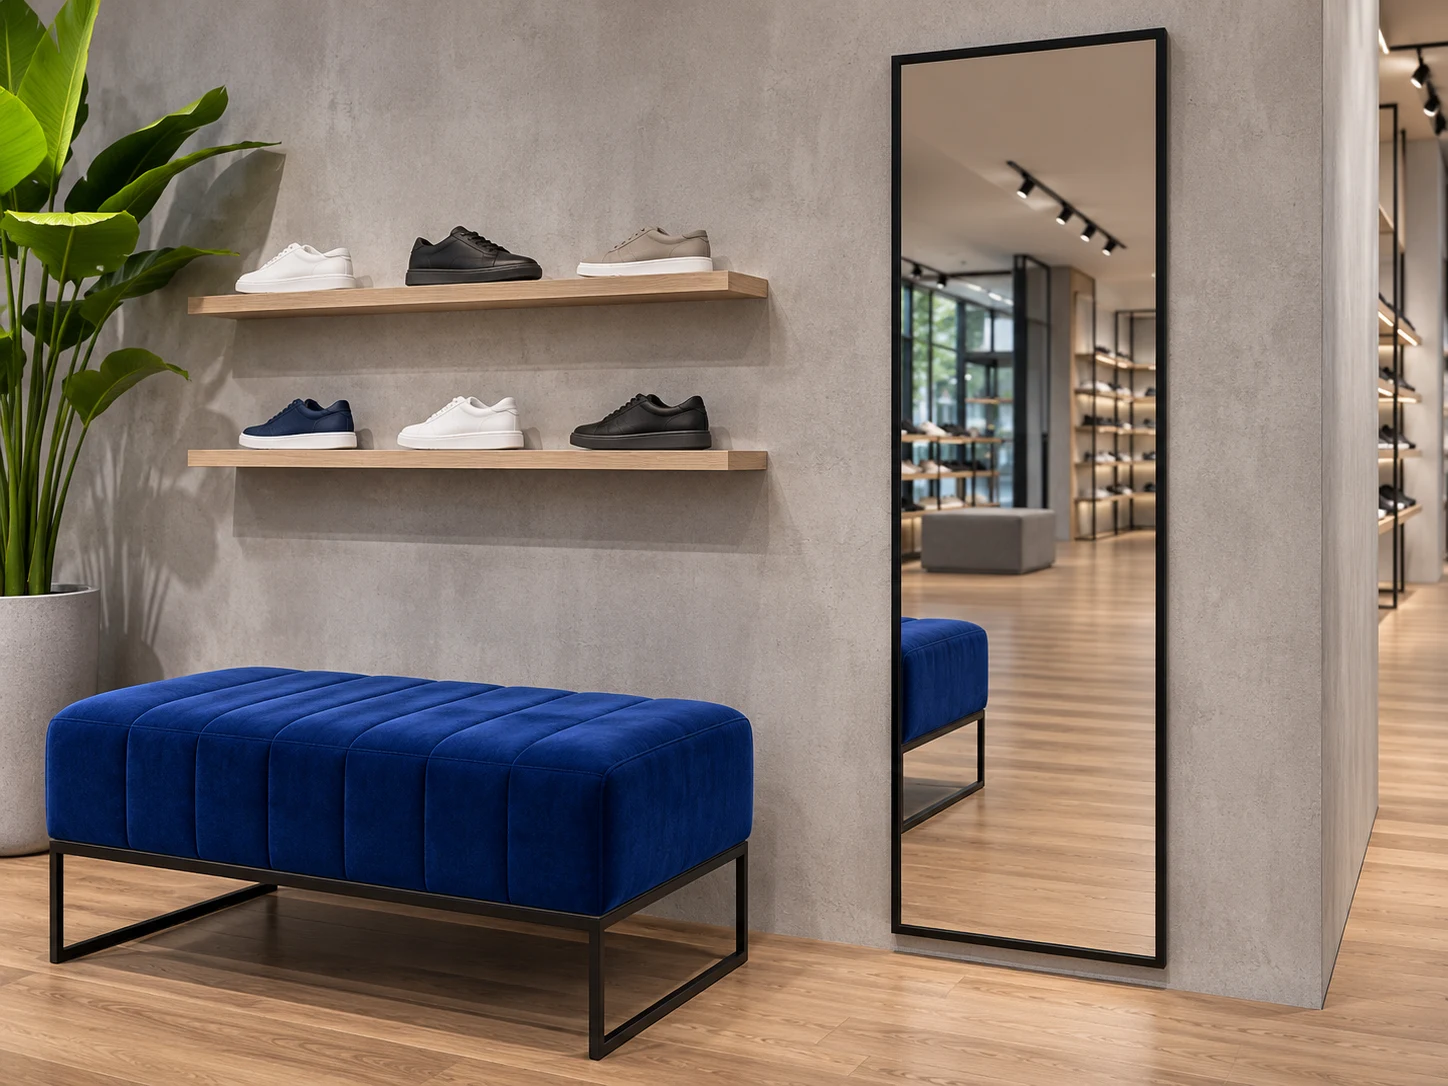
The reflection should work from the seated and standing positions. Check the base height, bench placement, display fixtures and circulation so a mirror does not become an obstacle on the sales floor.
Application concepts include illuminated and non-lit mirrors. Add a scope to carry it into the store enquiry below.
03 / The rollout brief
From pilot review to repeat store releases.
Choose the workstream you need to resolve. The selected stage is carried into your enquiry; quantities and dates remain project-specific.
Prove the kit in one complete store setting.
Use the pilot to resolve the details that drawings alone cannot settle. Review the mirror beside the actual finishes, merchandise, ambient lighting and operating controls.
01
Review the experience
Check the view from customer positions, reflected displays and light on the face.
02
Close the interfaces
Confirm joinery, brackets, power entry and the removal route with the fit-out team.
03
Record the reference
Link the agreed sample, finish and drawings to a model reference before rollout.
Lighting concept / assess the complete room and selected mirror sample together.
04 / Lighting that serves the view
Review the face, not just the glowing edge.
A bright retail ceiling does not necessarily give a useful reflection. Overhead light, coloured merchandising and a dark fitting-room alcove can change how garments, skin tones and finishes appear.
Reduce shadow
Review the position of task lighting relative to the customer. Compare integrated side light with the store’s external fixtures.
Control glare
Check diffuser appearance, brightness and reflected spotlights from seated and standing positions.
Agree the light
Specify the colour temperature, dimming and switching behaviour, then review colour rendering on the proposed sample.
05 / Joinery & fixing
The display panel is part of the mirror installation.
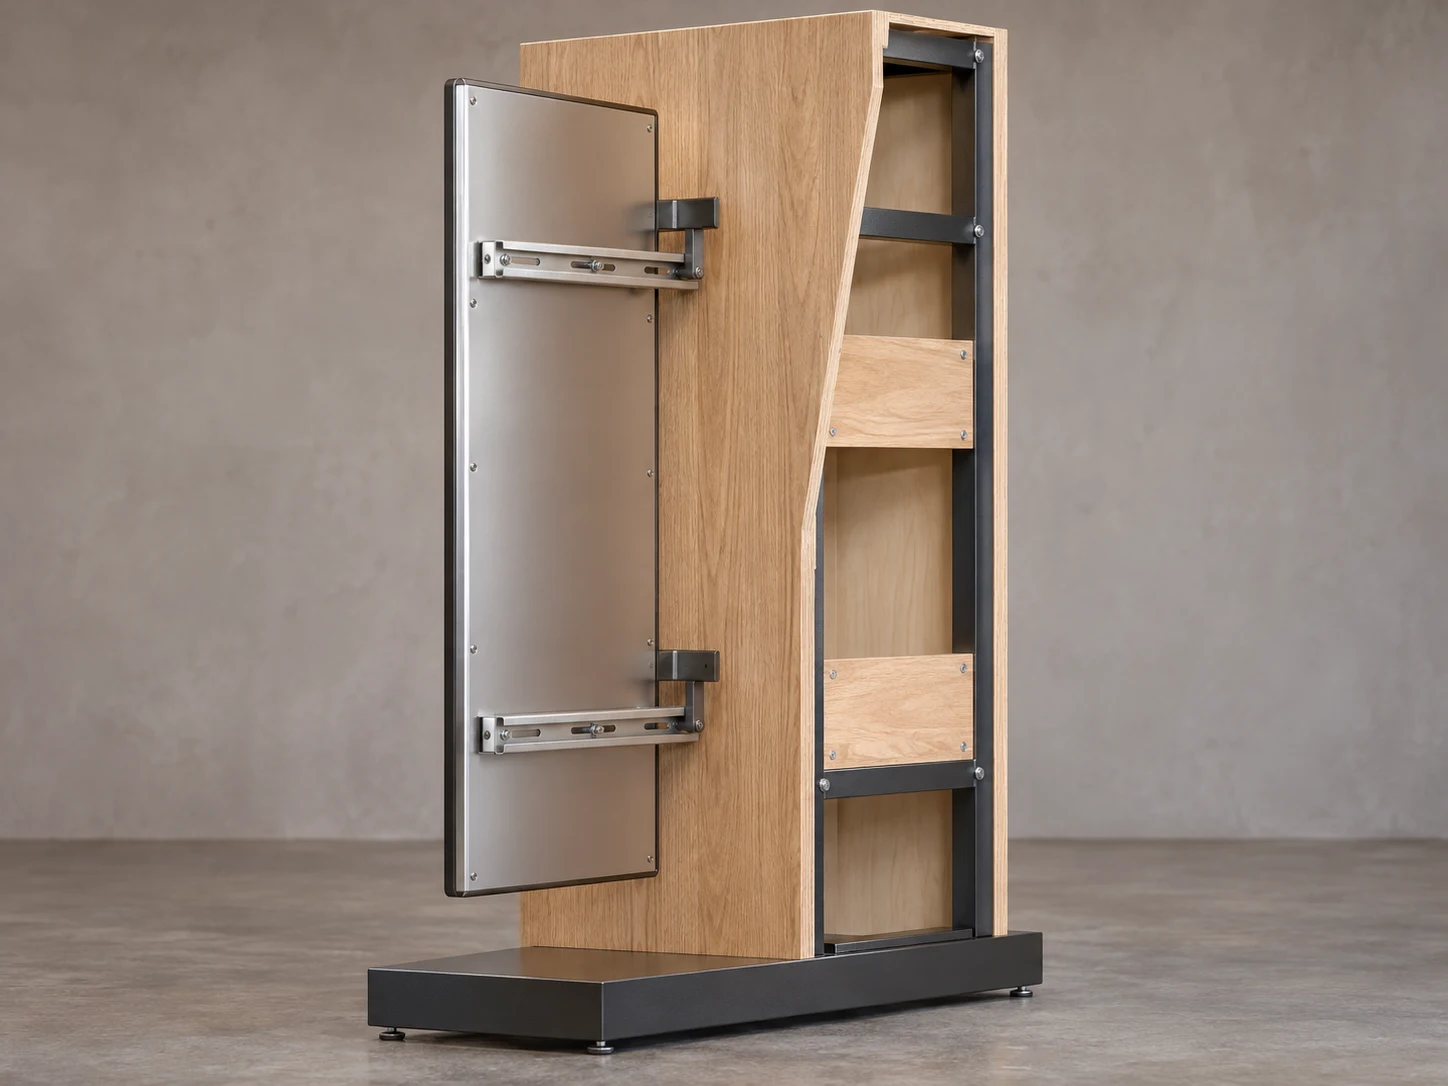
Retail mirrors may sit on wall linings, joinery bays or freestanding fixtures. Coordinate the support structure and fixing design with the shopfitting team before treating the decorative panel as a mounting surface.
Record the panel build-up and the actual support behind it.
Align mirror rails and fixing points with the joinery structure.
Set out the lower edge, adjacent shelving and customer circulation.
Show the cable path and a removal direction that remains accessible.
Installation concept / the project team determines the substrate, structural support and fixing arrangement.
Joinery interface concept, shown from the rear to explain the supporting structure.
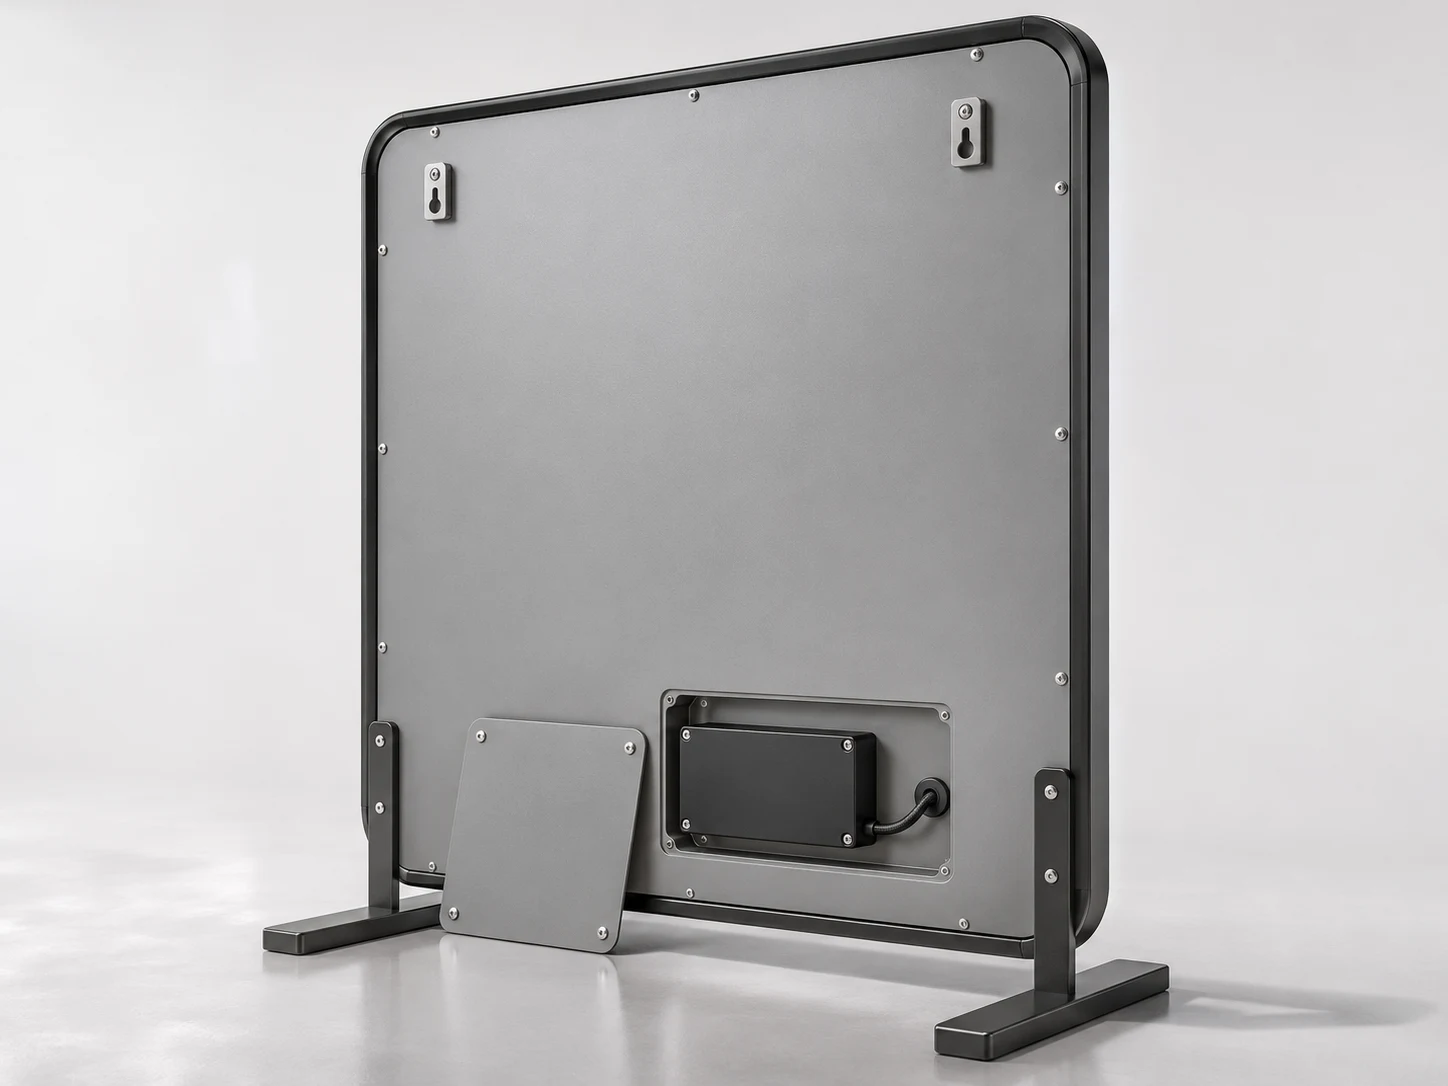
Rear access concept / the final component positions are model-specific.
06 / Keep the store maintainable
Plan the replacement route before opening day.
A mirror should not require dismantling the adjacent merchandise display to reach its electrical components. Review power provision and service access alongside the visible design.
Power entry
Show the connection zone on the joinery drawing, clear of mirror rails and enclosed components.
Component access
Agree how the driver and controls can be reached and whether access requires mirror removal.
Store record
Keep the model, drawing revision, control instructions and agreed spare references with the store’s maintenance information.
07 / Brand consistency
Define the repeatable kit. Identify every exception.
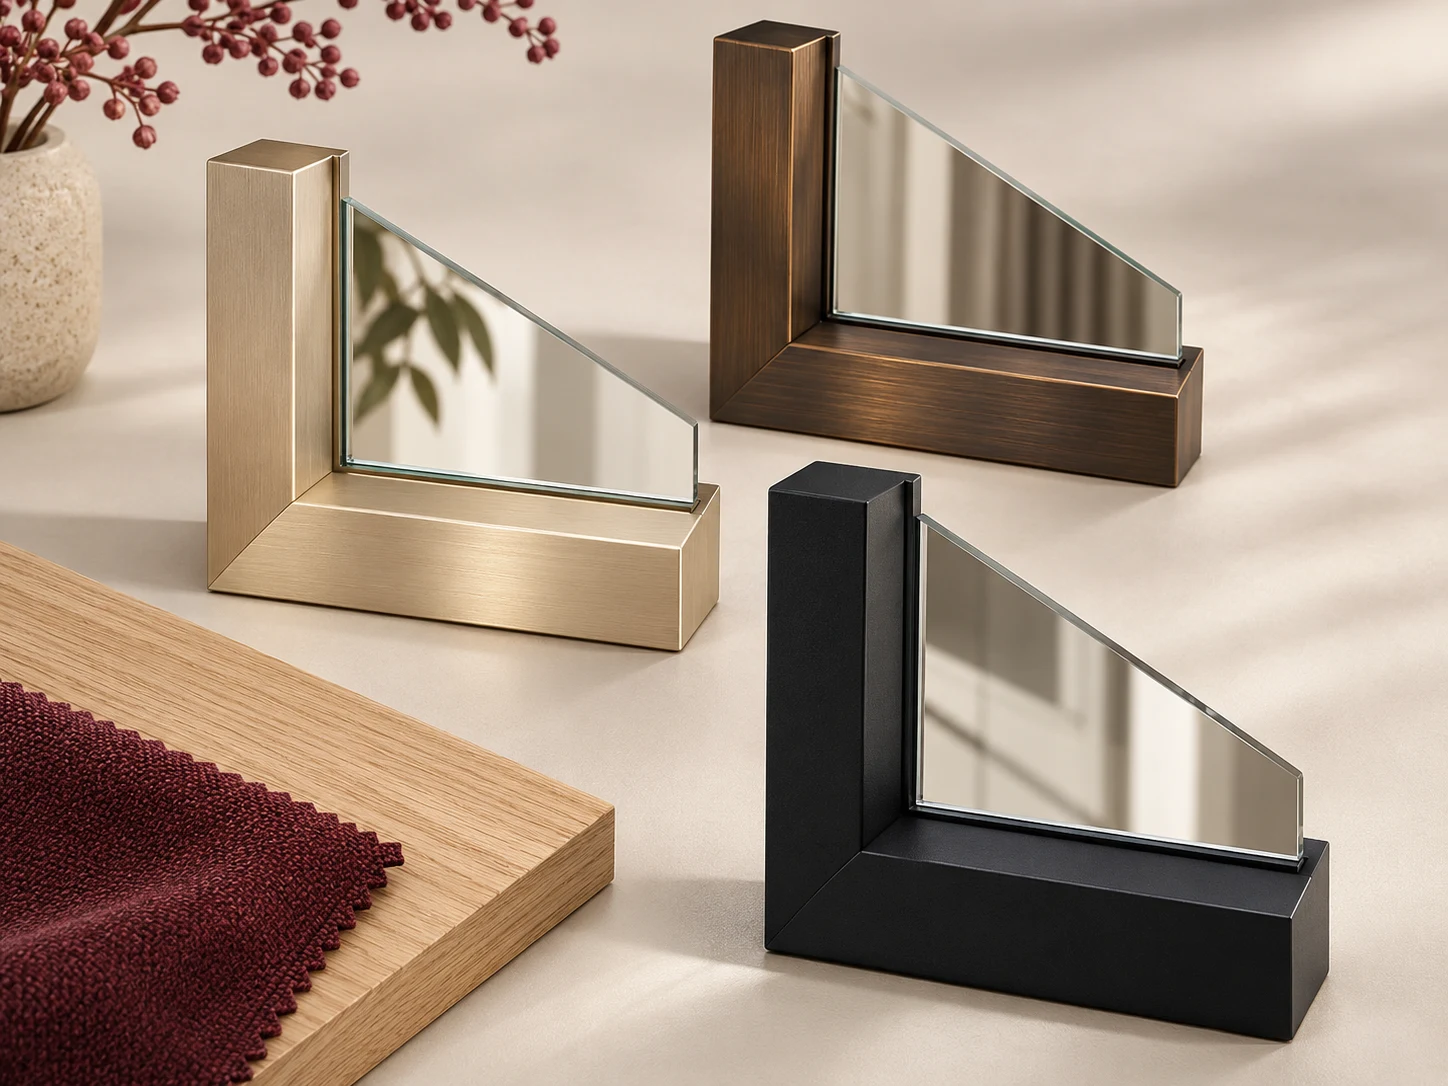
The approved store concept needs a physical reference as well as a drawing. Review mirror frame finishes beside the actual joinery and upholstery, then link the accepted sample to the procurement schedule.
Core specification
Mirror outline, frame profile, finish reference, edge treatment, lighting and control arrangement.
Store-specific detail
Dimensions, fixing interface, cable entry, handedness if relevant, and the quantity required at each location.
Change control
Record the affected model and stores. Confirm the revised sample or drawing before releasing a changed specification.
Finish-review concept / use the agreed physical sample as the project reference.
08 / Multi-location supply
Make the store release easy to receive.
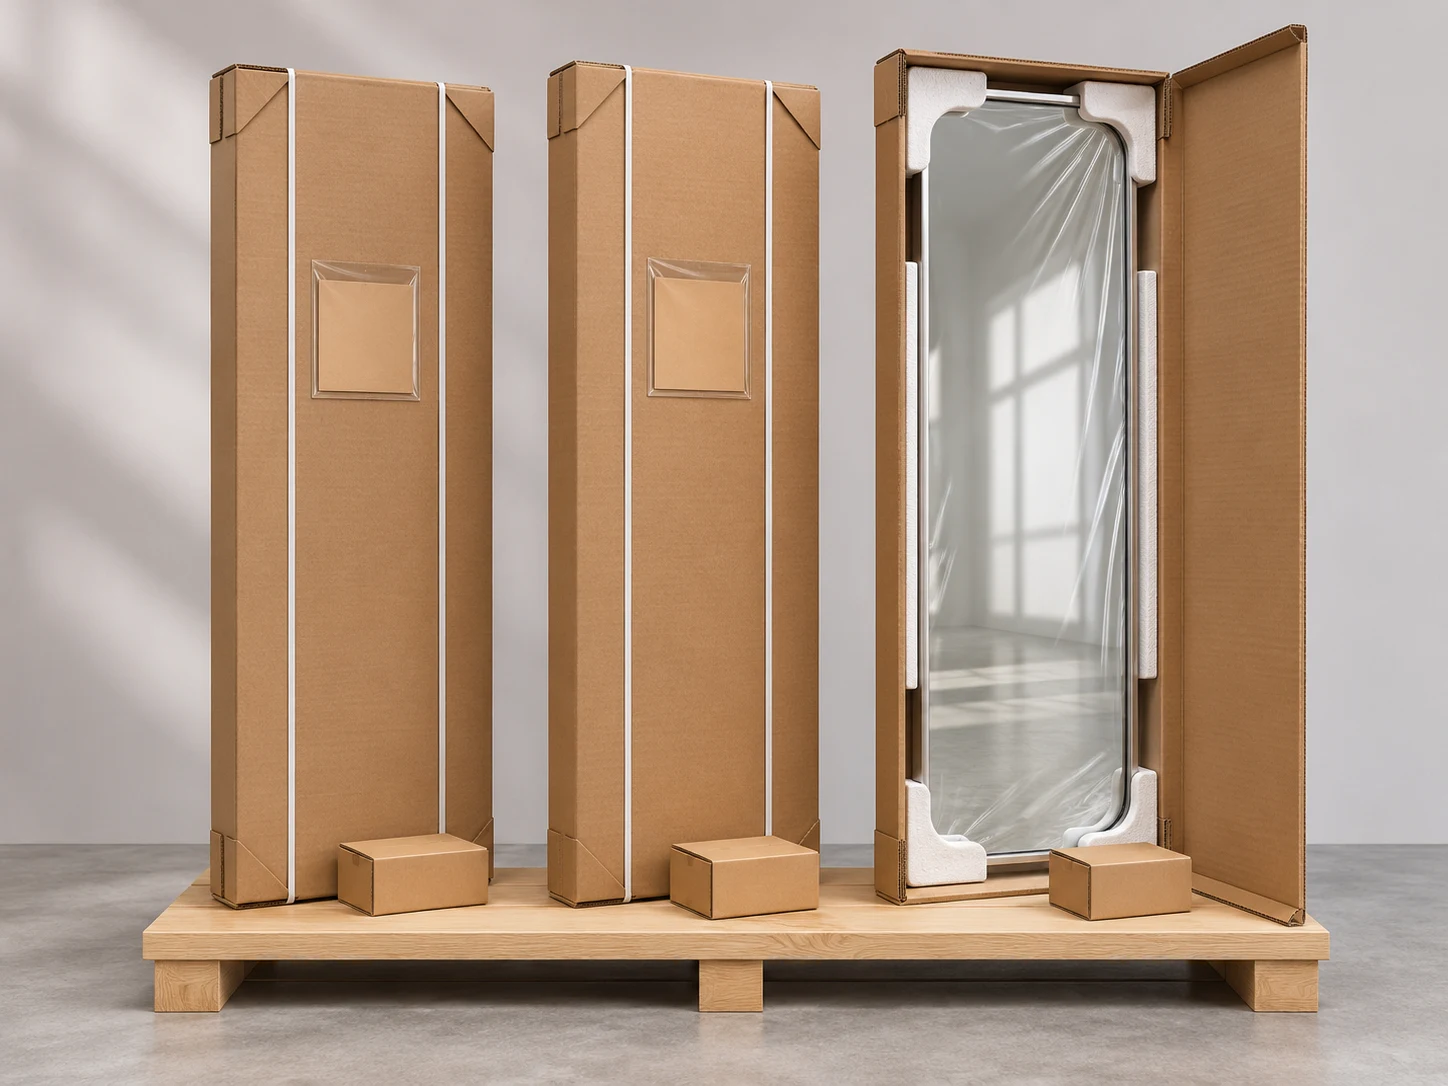
Packaging concept / grouping and identification are agreed with the store release plan.
Store openings and refurbishment windows do not always follow one delivery date. Build the release schedule around location references, mirror variants and the accessories needed by each fit-out team.
AllocateList each store, required models, mirror quantities and release window.
IdentifyAgree carton and accessory identification so similar-looking variants remain distinguishable.
ReceiveConfirm receiving contacts, access and storage constraints, then record quantities and visible condition on arrival.
Release information
Record before confirmation
Avoid on site
Store / format
Location reference, store format and mirror model revision.
A standard kit being sent to an exception location.
Mirror / accessories
Quantity by model, fixing components and agreed spare items.
An installation team receiving only part of the intended package.
Timing / receiving
Release sequence, destination, receiving contact and handling constraints.
Unplanned rehandling or deliveries before storage is available.
09 / Retail project questions
Resolve the details before the rollout repeats them.
What information helps define a chain-store mirror package?
Share the store format, mirror locations, dimensioned elevations, finish references, lighting and control requirements, quantities by store and intended release dates. Flag which details are standard and which are still being developed.
Can one mirror design be adapted to several store sizes?
Start with an approved core specification, then review each size and mounting variation. Give store-specific changes their own model or drawing reference so they are not confused with the standard kit.
Are illuminated mirrors always the right choice for fitting rooms?
No. A non-lit mirror may suit a room with well-positioned external task lighting. Compare the customer’s reflection, shadows and glare in a room mock-up before selecting integrated LED lighting or separate fixtures.
How do we coordinate mirrors with retail joinery?
Issue the mirror and joinery drawings together, including the finished panel build-up, support zone, fixings, cable route and removal direction. The responsible project team should review the complete interface rather than relying on the visible front elevation alone.
What should be checked before repeating the pilot-store model?
Record the accepted dimensions, outline, finish, edge detail, lighting behaviour and control sequence. Close any mounting or access issues, then link the approved sample and drawing revision to the store schedule.
Can packing be grouped for different stores or opening phases?
State the store references, quantities, accessory requirements and planned release groups in the enquiry. Agree identification and packing arrangements before confirming a delivery programme; include site storage and receiving constraints.
Tell us what needs to repeat—and what needs to change.
Share the store concept, mirror locations and rollout stage. Include any exceptions so the proposed package can be reviewed against real shopfitting conditions.