
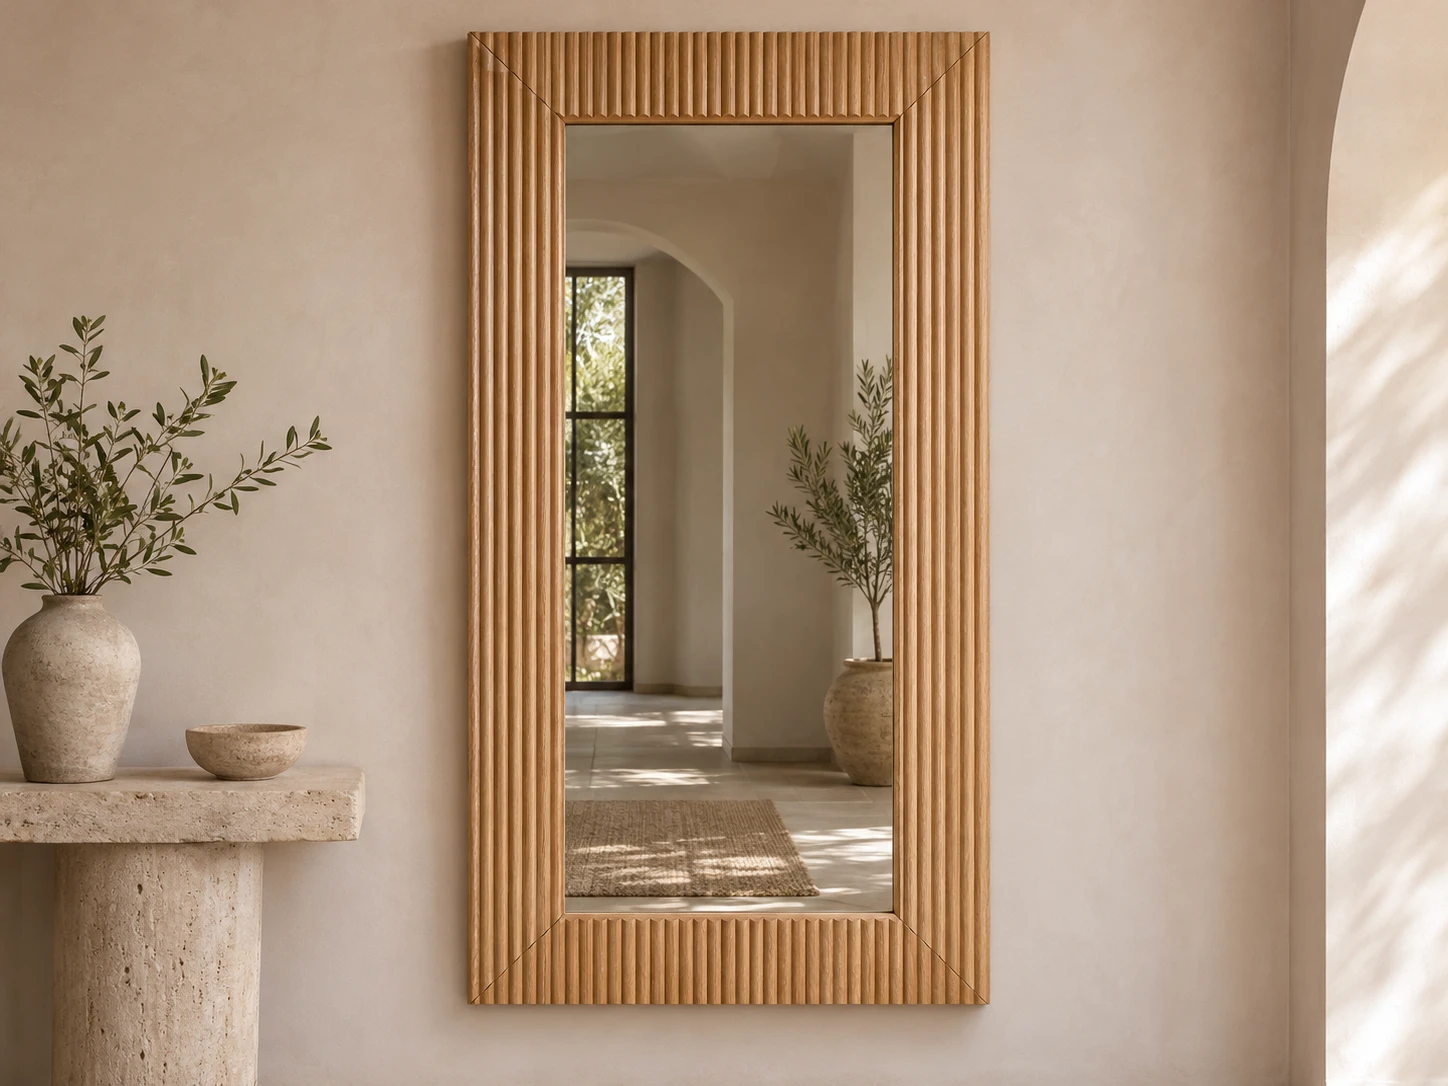
Non-lit
Fluted Oak Rectangle
A broader border creates a furniture-like piece for entrance and dressing spaces. Define fluting depth and how the pattern turns at each corner.
Develop This DirectionMY MIRROR PLUS / OEM & ODM development
Start with a section, a finish reference or a room elevation. Develop the frame around your mirror collection, from the visible border to the rear mounting assembly.
Build Your Frame Brief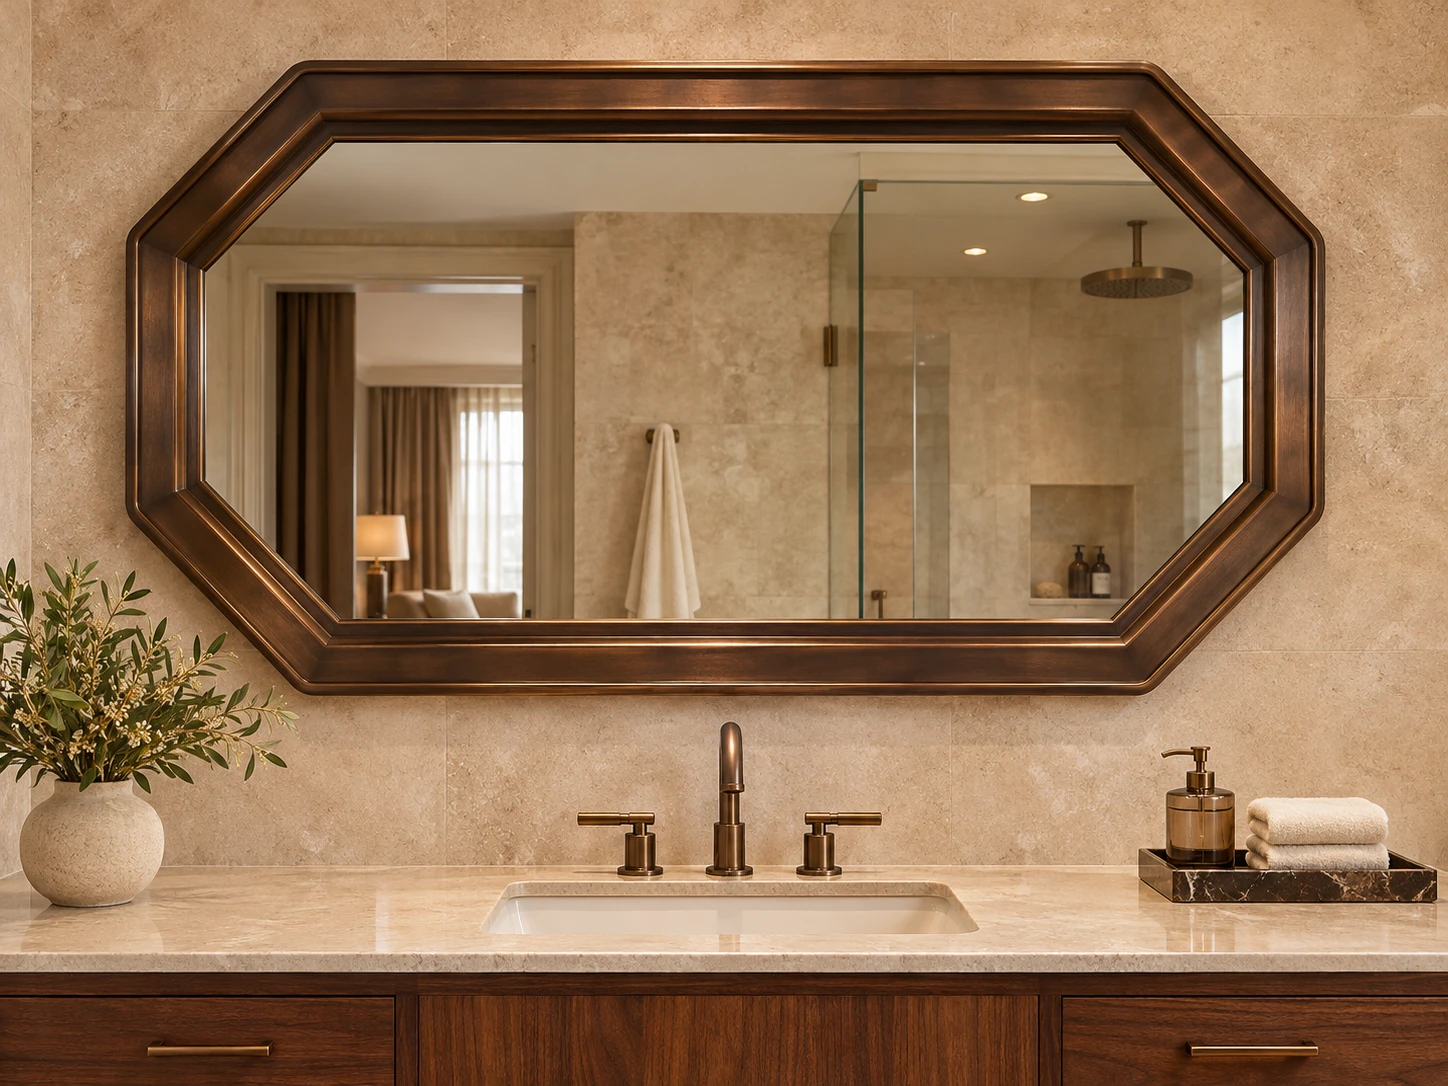
Define the section
Dimension each step and the total projection. Review how the finish catches light on the changes of plane.
Your selection is included in the enquiry. Profile feasibility is reviewed against the outline and material.
Product directions
Non-lit
A broader border creates a furniture-like piece for entrance and dressing spaces. Define fluting depth and how the pattern turns at each corner.
Develop This Direction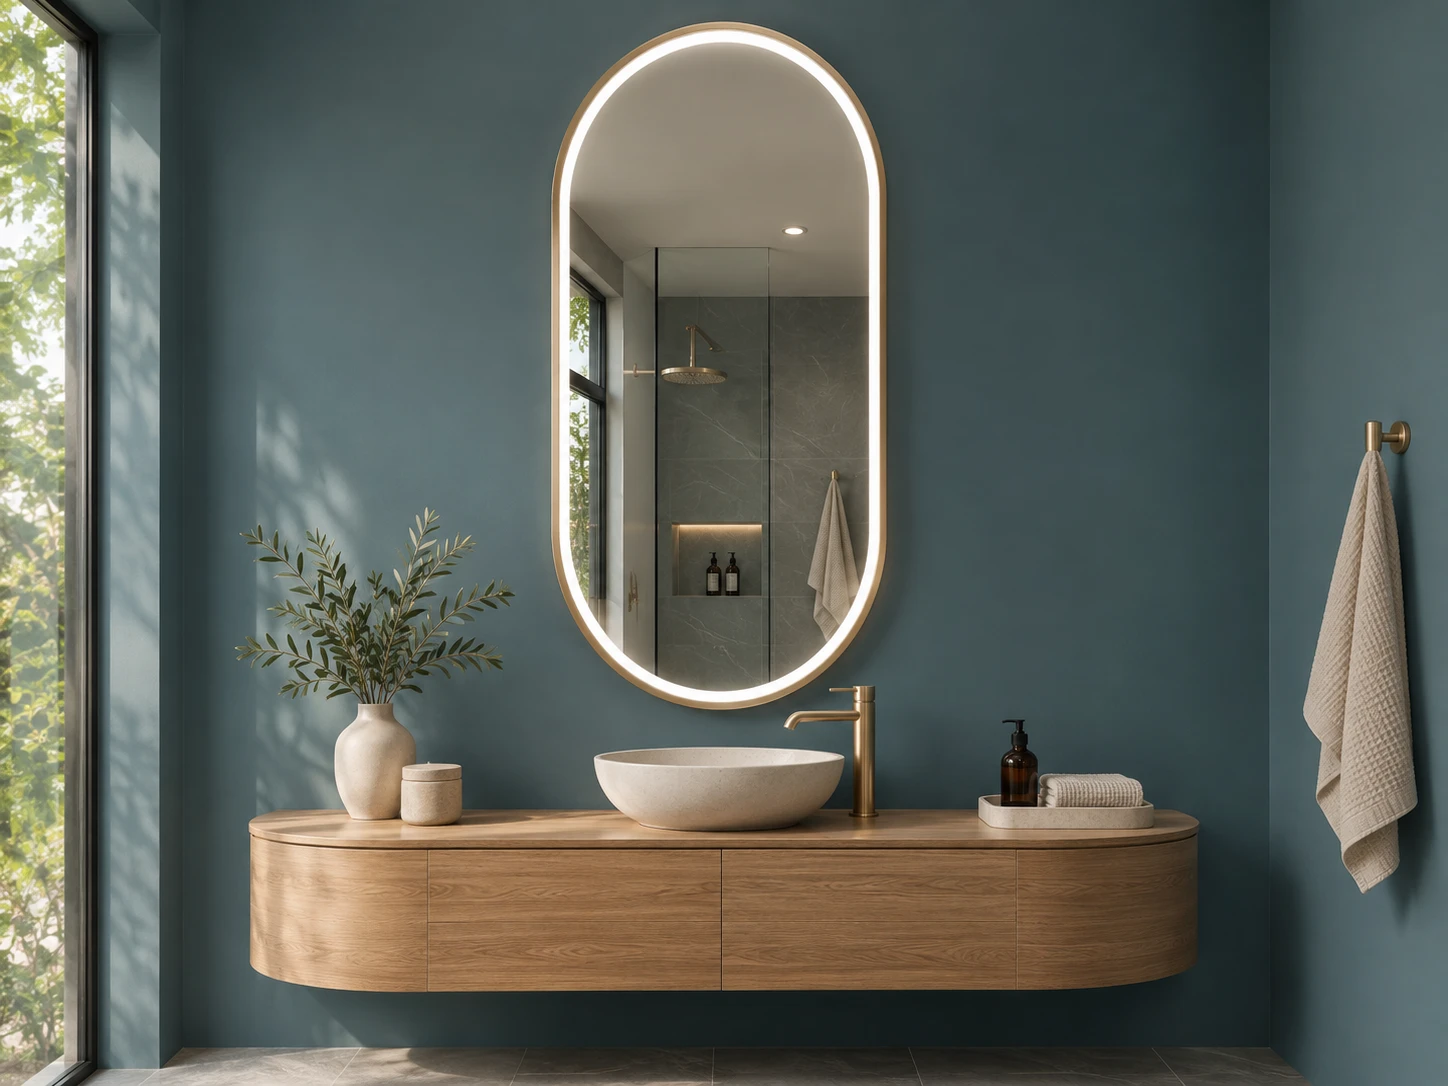
Front-lighted
A slim metallic rim surrounds an inset LED band. Agree the frame face, diffuser and clear reflection area as separate dimensions.
Develop This Direction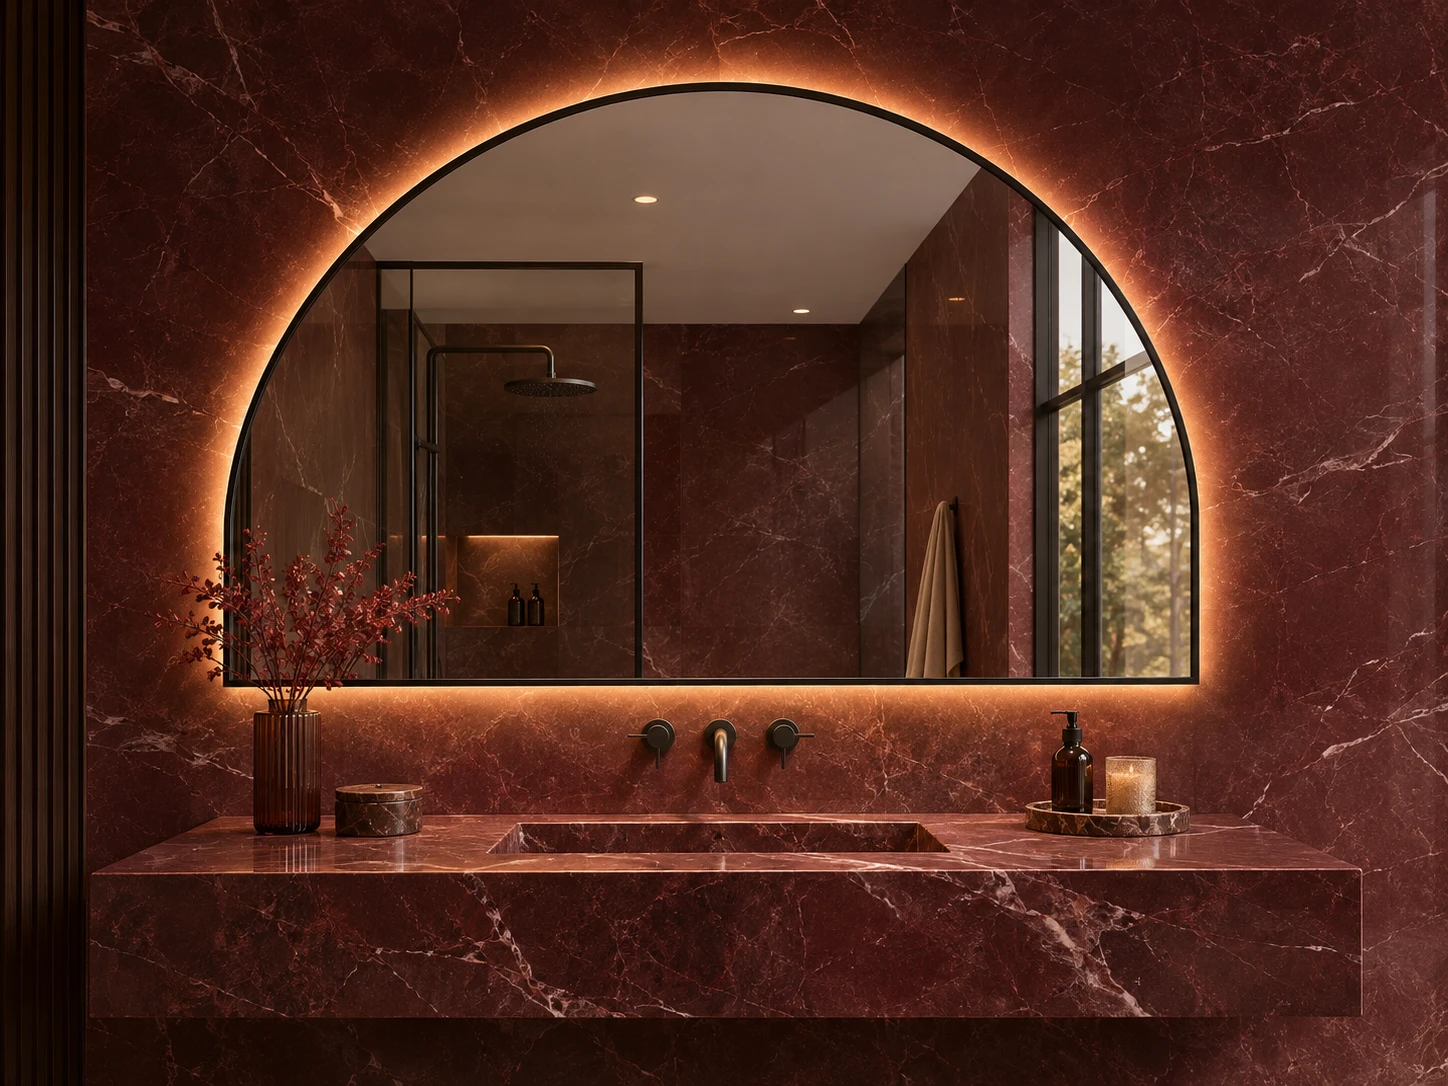
Backlit
A curved crown and soft wall glow add height above a vanity. Review rear clearance and light diffusion around the arch transitions.
Develop This DirectionProduct concept renders illustrate development directions. Actual materials, dimensions and construction follow drawing and sample approval.
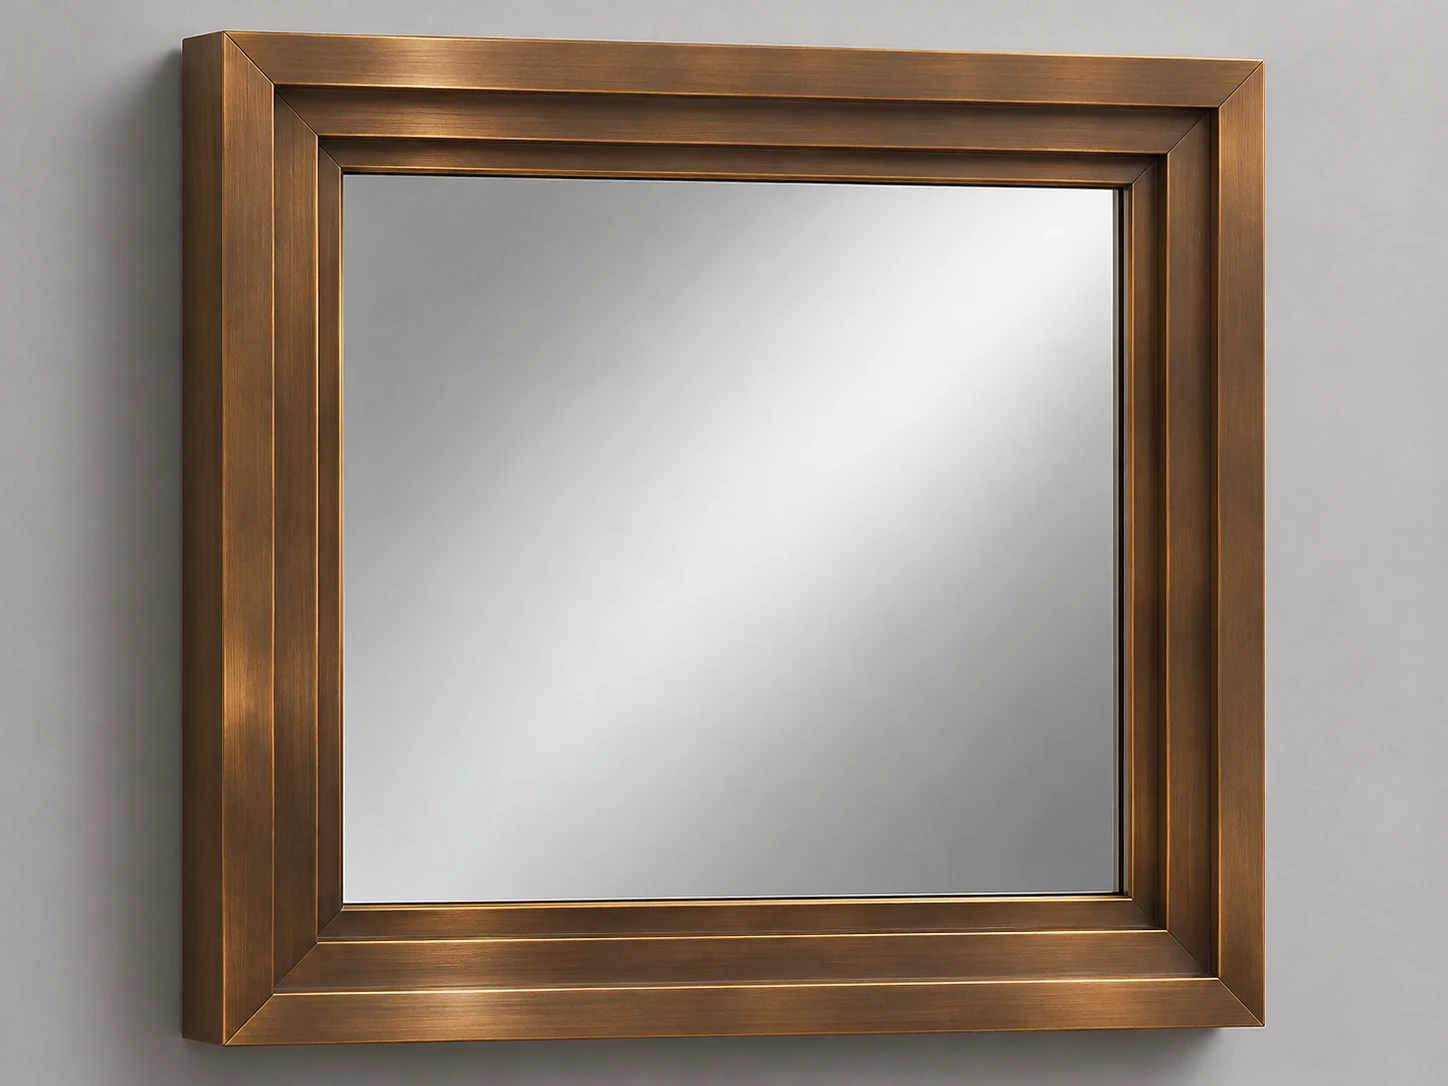
Front construction
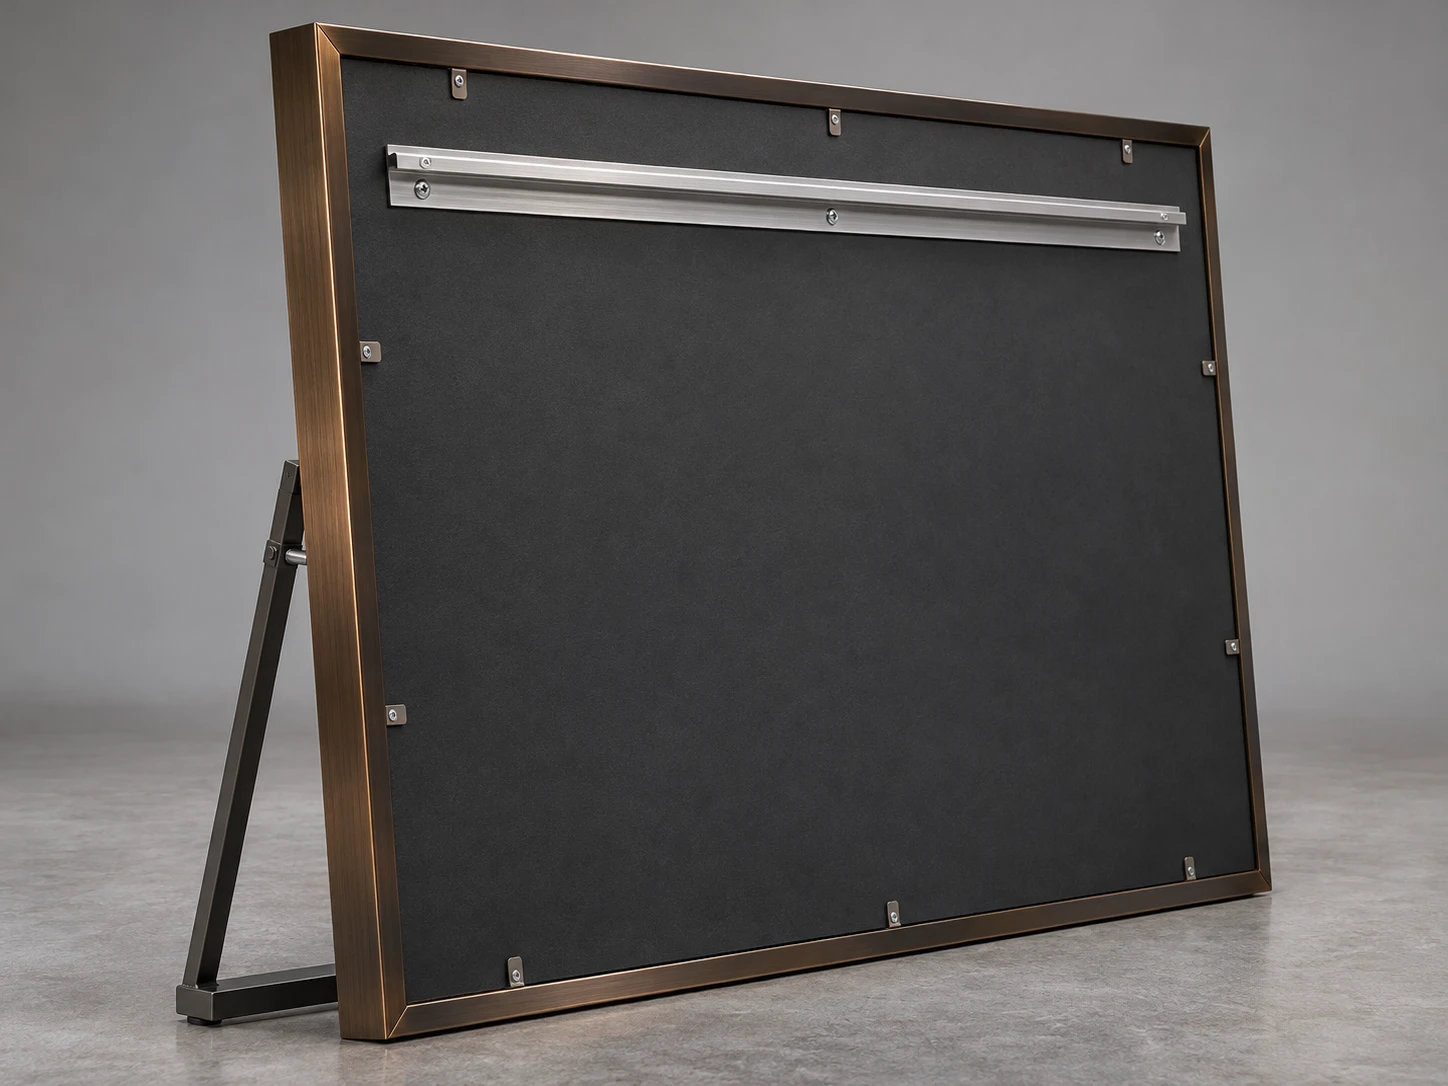
Rear construction
The rear arrangement depends on the frame size, weight and lighting choice. Review the mounting and backing together with the front design.
Material & finish brief
Identify the substrate and proposed surface treatment. Include a formed corner or curve so the finish can be assessed after fabrication.
Agree substrate, grain or relief, joining and surface protection. State the intended room conditions and cleaning requirements.
Link the master colour and texture sample to the drawing. Compare it beside the project hardware under agreed lighting.
Quote preparation
Outer width, height and corner or curve geometry.
Visible face width, profile depth and glass position.
Material preference and physical colour or texture reference.
Non-lit, front light, rear halo or combined illumination.
Orientation, wall elevation, fixing and service access.
Quantities by variant, destination and packaging brief.
Development programme
Keep the approved outline, profile and finish under one model reference. When a size changes, review the supporting construction and packing before release.
Review the outline, proposed material, tooling needs and order quantities.
Approve the visible detail before making the complete mirror.
Confirm glass, mounting, installed depth and any electrical functions on a complete sample.
Agree model codes, drawing revisions, labels, packing and delivery requirements.
Buyer FAQ
Yes. Share the section, outer outline, intended material and quantities. Fabrication route, bending, joining and tooling are reviewed before the profile is confirmed.
The proposed construction depends on the outline and size. Curved frames, large spans and decorative relief may need different joints or rear supports. Approve each configuration on its drawing.
Both can be developed. For LED versions, agree the light path, diffuser, controls, rear assembly and service access. Review the installed depth for each version.
Supply a physical reference or an agreed finish standard. Approve a sample showing a formed corner or curve as well as the flat surface, then record the reference on the order.
Review the changed dimensions against the approved frame proportions, support and packaging. Keep the finish reference and drawing revisions linked to the new model code.
Provide outer dimensions, preferred section, material, finish, lighting, quantities by variant and destination market. A reference photo helps, while a dimensioned sketch makes the requirements clearer.
Wholesale / Projects / Private label
A dimensioned sketch and a finish reference help us review the profile, outline and assembly with your team.
sales@mymirrorplus.com