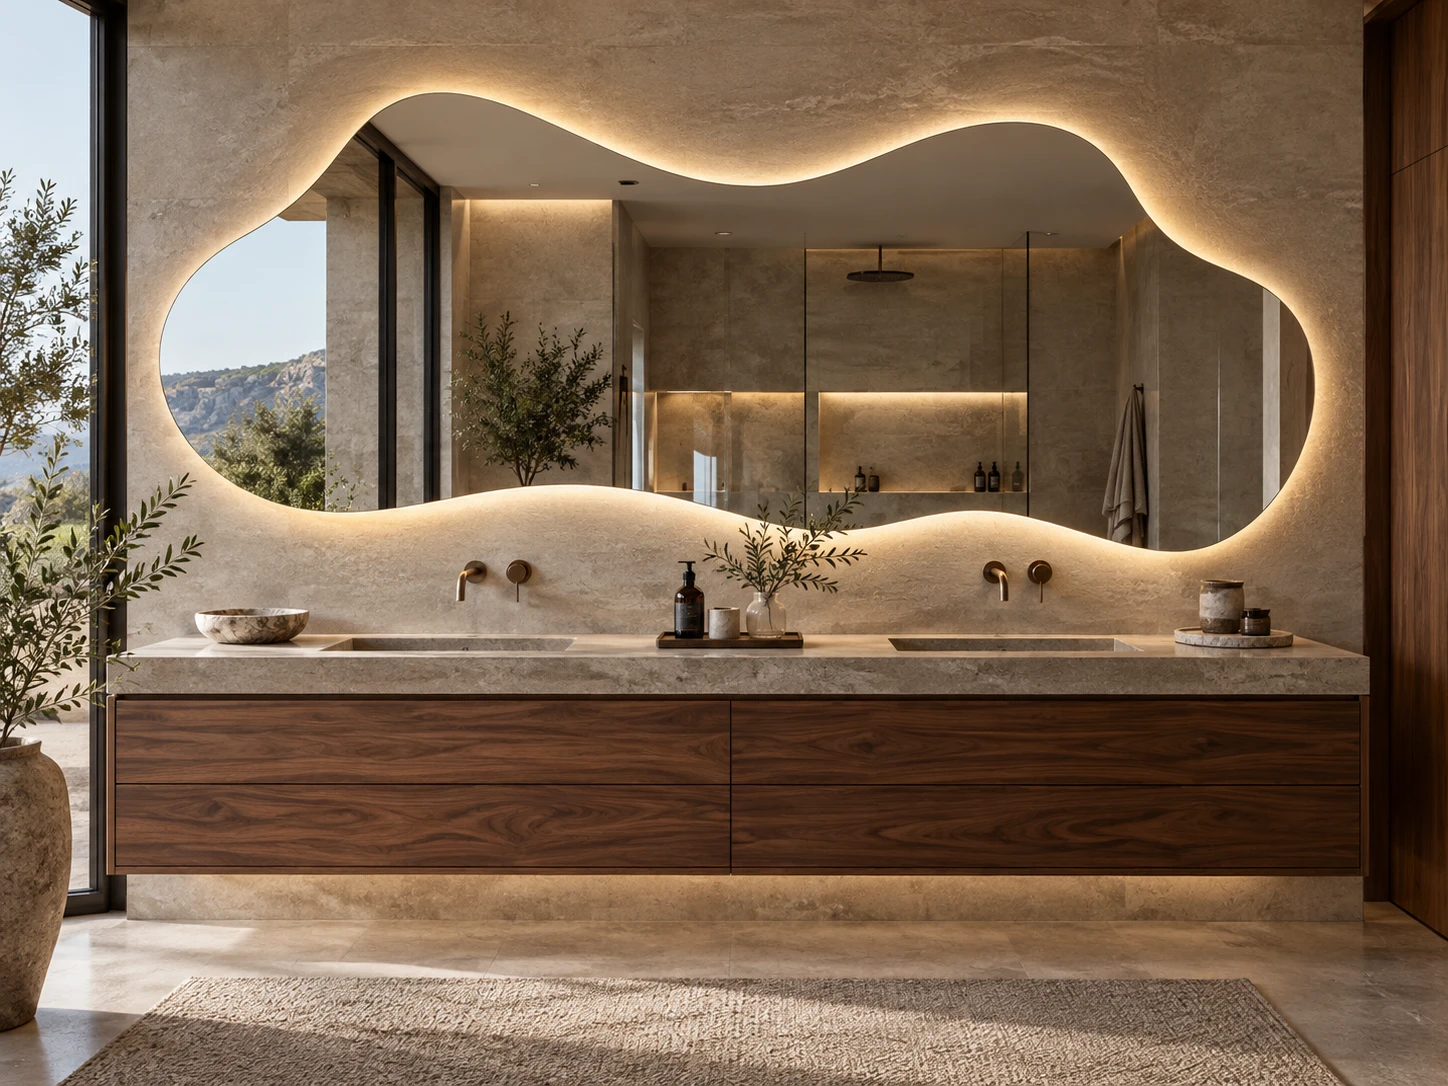
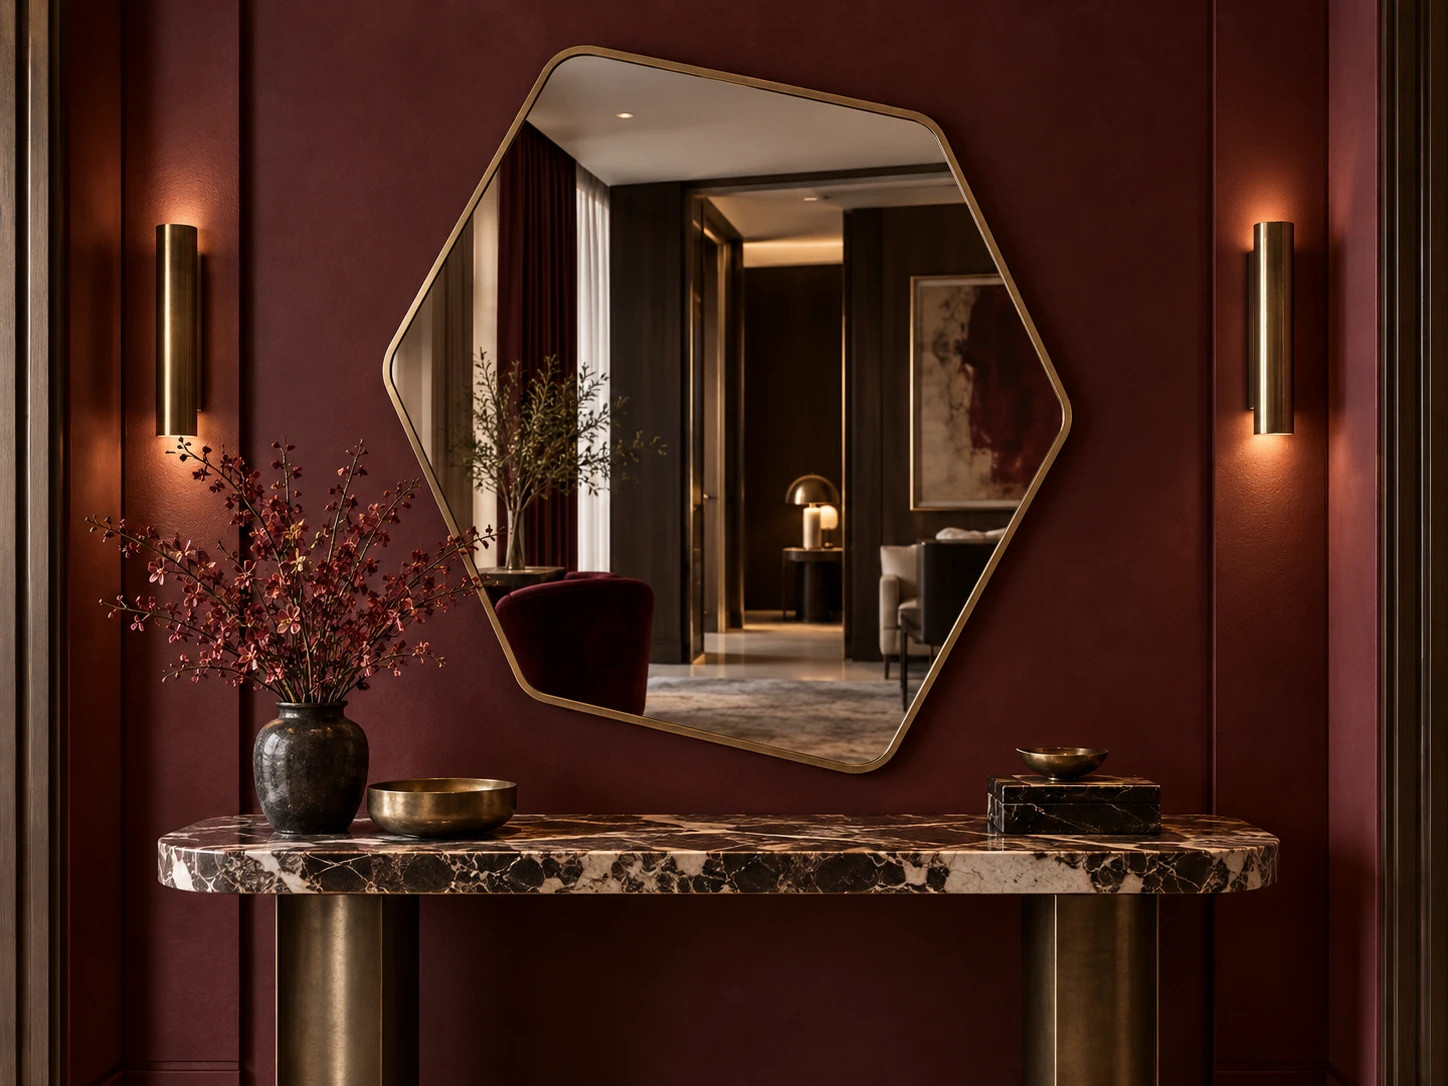
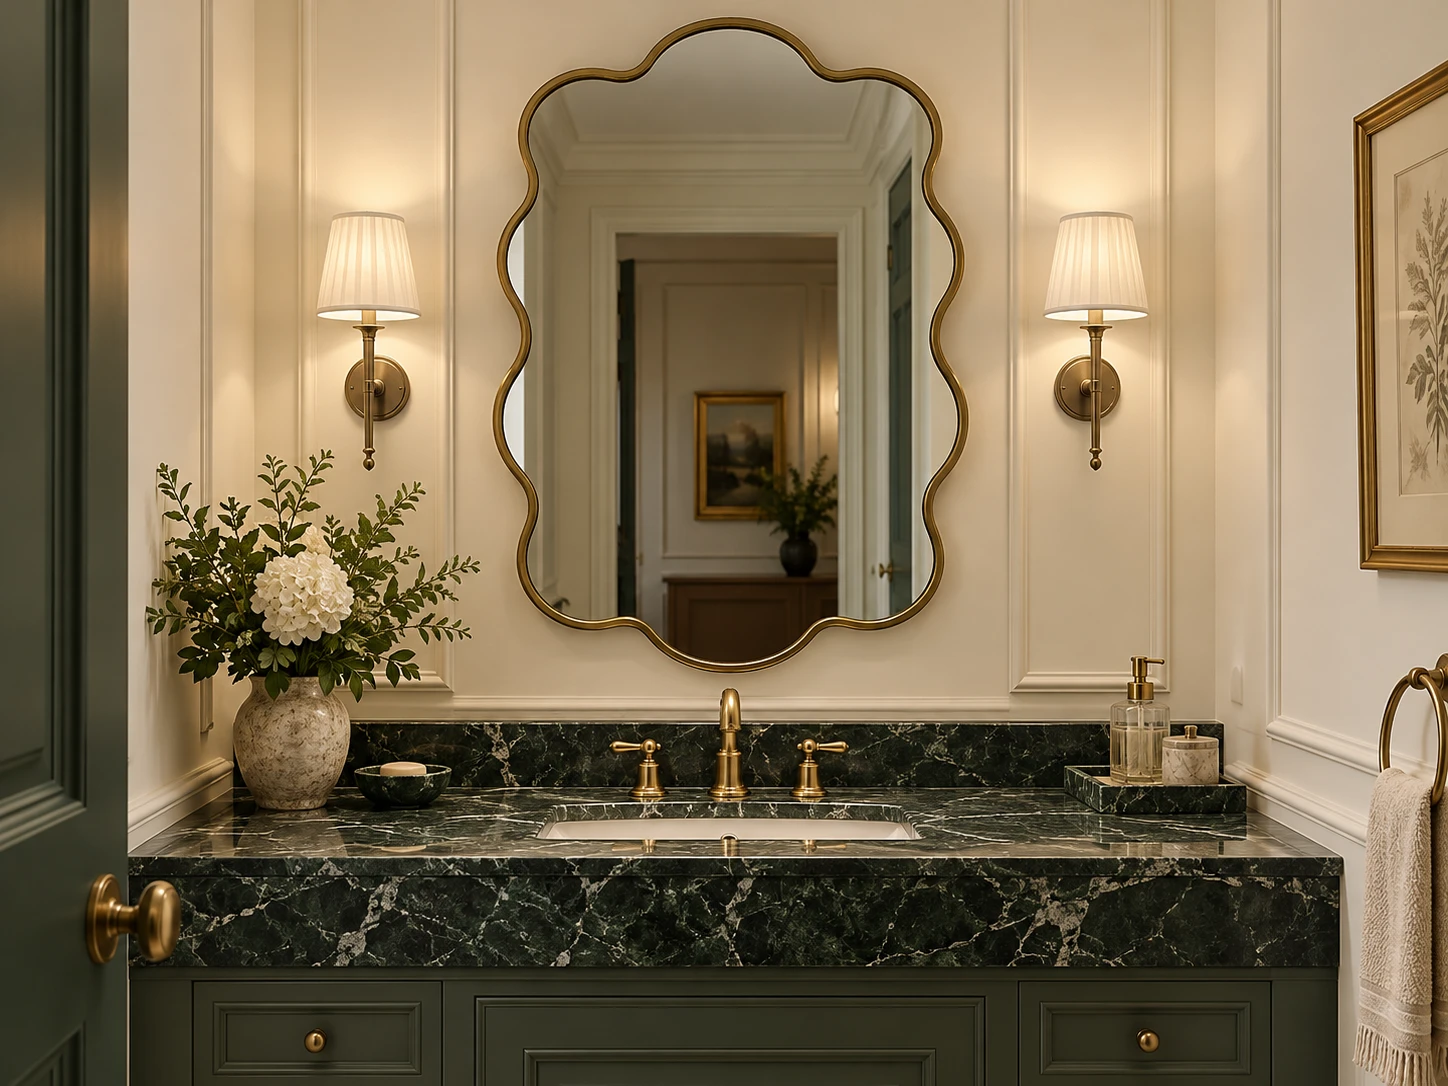
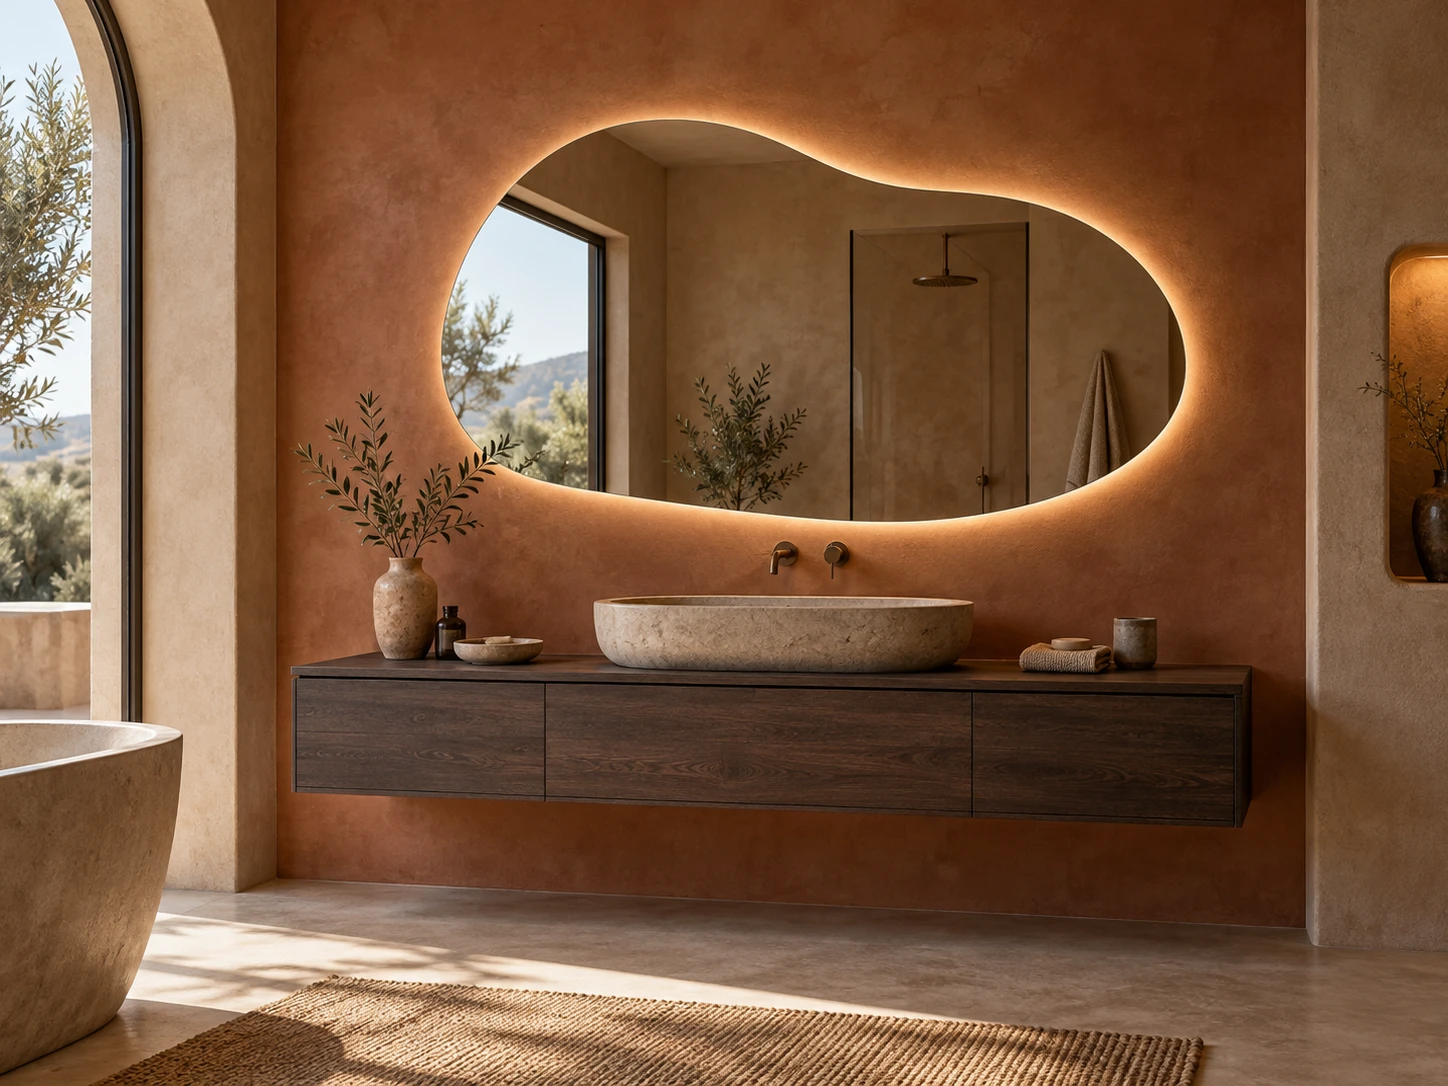
Waves, facets, scallops and freeform curves for distinctive bathroom and interior collections. Develop a repeatable product from your design direction.
A custom contour brings a new rhythm to the vanity.
BEYOND STANDARD GEOMETRY
Expressive in Shape. Exact in Specification.
An irregular outline can be flowing or angular, balanced or deliberately uneven. The design begins with the silhouette; the product is defined by the details behind it.
For importers, bathroom brands and project buyers, the objective is a clear link between the approved outline, physical sample and every ordered variant.
FOUR OUTLINE FAMILIES
Choose the Character of Your Collection.
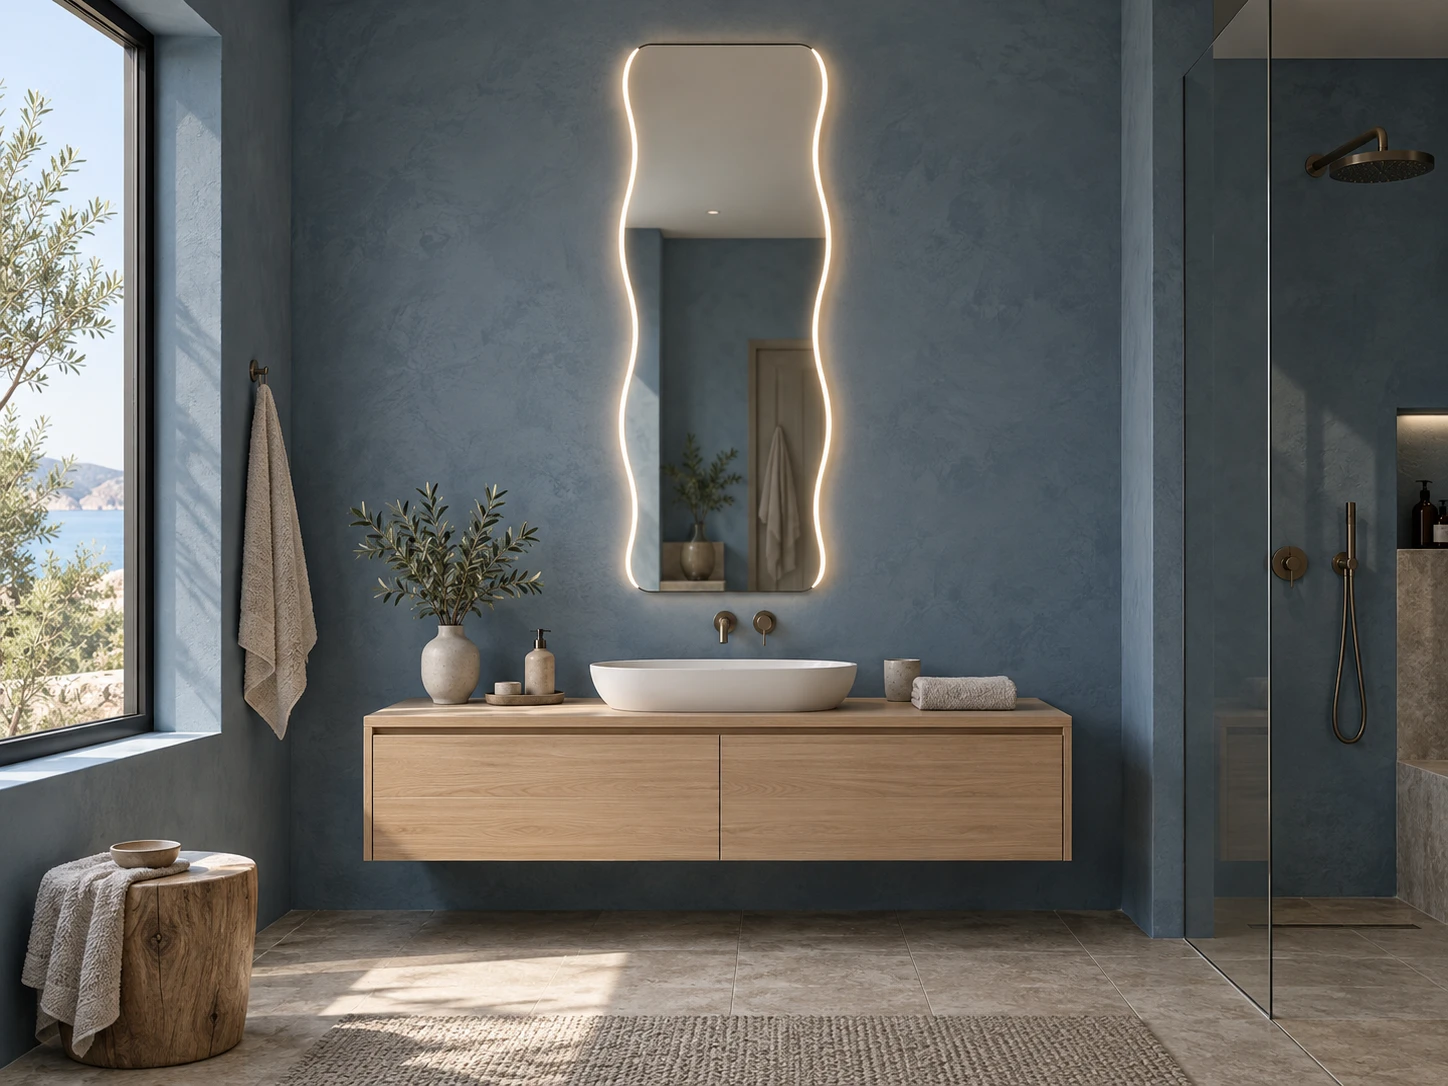
01 / Wavy / Front-Lighted
Wave Lightline
A rhythm of gentle curves turns a vertical mirror into a distinctive bathroom product. An inset diffused band follows the perimeter.
Review wave depth, minimum radius and the width of the clear reflection zone.
Images are concept renders for design discussion, not completed-project photographs. Final geometry, materials and construction are agreed through drawings and samples.
LIGHTING DIRECTION
Choose the Light Path, Not Just the Shape.
Rear halo
The wall becomes part of the visual effect. Review the rear LED route, clearance and wall finish to assess the glow around changing curves.
Front illumination
A diffused band is defined inside the glass outline. Agree its width and position, and preserve a useful reflection zone.
Non-lit construction
Focus on glass quality, edge treatment, frame finish and the room lighting. No LED driver or lighting controls are included unless specified.
THE OUTLINE APPROVAL
A Picture Starts It. A Drawing Defines It.
Illustrative specification diagram · not a cutting template
Overall envelope
Record maximum width and height, not just the central reflection area. Mark any dimensions that must align with nearby fittings.
Curve & corner detail
Define wave radii, scallop transitions or polygon corners. Avoid leaving the factory to infer the shape from a photograph.
Orientation & revision
Mark the installed top, front view, handedness and revision number. Separate similar-looking variants in the order schedule.
CONSTRUCTION REVIEW
Make Space Behind the Silhouette.
01
Glass & edge
Agree the glass specification and edge treatment for the contour. Review narrow waists, projecting corners and transitions.
02
Metal framing
Confirm profile depth, bending direction, joints and finish. Check the frame against the approved glass outline.
03
LED & diffusion
Review the LED path and diffuser through curves and corners. Assess continuity and glare on the physical sample.
04
Driver & demister
Plan rear components around the actual shape. Agree access, cable exit and any heated area before fixing their positions.
MOUNTING & ROOM COORDINATION
Position the Reflection, Not Only the Centre.
Above a basin
Check the usable reflection area against the basin and tap. Unequal edges can make the visual centre different from the bounding-box centre.
Paired installation
Use a shared elevation to set top references, side gaps and left/right versions. Confirm separate fixing and electrical positions.
Decorative interior
Coordinate the outline with wall lights, joinery and furniture. Review the mounting system and wall construction for the actual assembly.
Mounting heights, fixings and clearances are confirmed for the product and project conditions. Concept imagery is not installation guidance.
B2B COLLECTION DEVELOPMENT
A Signature Shape. A Controlled Range.
Private-label brands
Develop a recognizable outline family with selected sizes and finishes. Keep model codes linked to approved drawings.
Importers & distributors
Define LED and non-lit variants separately. Confirm quantities, destination requirements and installation information for each SKU.
Hospitality & fit-out
Share room elevations and delivery grouping. Coordinate bathroom mirrors with decorative pieces without assuming identical rear construction.
PACKAGING & ORDER RELEASE
Protect Every Projection and Curve.
Support the contour
Review cushioning around the actual perimeter. Protect projecting areas and avoid concentrating loads on narrow sections.
Separate the hardware
Keep brackets and accessories away from the reflective surface. Confirm frame and rear-component protection.
Identify the version
Mark outline revision, size, finish and handedness. Match carton identification to the agreed model and order schedule.
Outline Review
Drawing
Sample
Approval
Production & Delivery
Approve packing and any required transport-test plan for the specific product and shipping route before order release.
IRREGULAR MIRROR FAQ
From Design Reference to Purchase Brief.
Is irregular the same as asymmetrical?
Not always. Irregular describes a non-standard outline, including wavy, scalloped and unequal polygonal forms. A decorative irregular mirror can still be symmetrical. Supply the actual outline rather than relying on a shape name.
Can you work from a sketch or reference photograph?
A reference can start the discussion, but production requires an agreed dimensioned outline. Provide overall width and height, intended orientation and any critical curves or angles. Review the resulting drawing before sampling.
Can any outline have a metal frame or LED lighting?
The outline needs a construction review. Tight curves, sharp changes of direction and narrow sections can limit framing, light diffusion or rear component placement. We will discuss adjustments before finalizing the specification.
Can I request a mirrored pair or a different orientation?
Yes, these can be developed as separate variants. Identify the left and right versions, installed top edge, control positions, mounting details and cable exits on the drawings. Do not assume the finished product can simply be rotated.
How should irregular mirrors be packed?
Review support around the actual contour, protection of projecting corners and separation of accessories from the glass. Packing dimensions and any transport-test requirements depend on the assembly and shipment route.
What do you need to quote a custom collection?
Send the outline or reference, dimensions, quantities by variant, frame and lighting requirements, destination market and packing needs. MOQ, pricing, sample timing and production lead time are confirmed for that specification.
DEVELOP YOUR OWN OUTLINE
Start with a Shape. Build a Specification.
Share a reference or drawing, dimensions, quantities and the intended setting. Include lighting and frame preferences so the construction can be reviewed with the outline.